Getting Started with Coding in R (Part 1)
In future posts, we'll explore some coding projects here. Before jumping in, we'll start with some basics. This post will be the first of two on getting started with coding in R.
What is R and why start with it?
The R language for statistical programming is one of several coding languages for statistics, math, and data science. Some others include Python and Julia, which I hope to cover in future posts! We'll start with R because it's relatively easy to learn, it's free to use, and it has a lot of great tools for statistical data analysis and visualization. It's also available for Mac, Windows, and Linux users. You can read more details about it on the official R Project site here.
Downloading and installing R
To use R, we'll first need to download and install the R software. You can do that by clicking on the link for your operating system here and then following the instructions provided for your particular system.
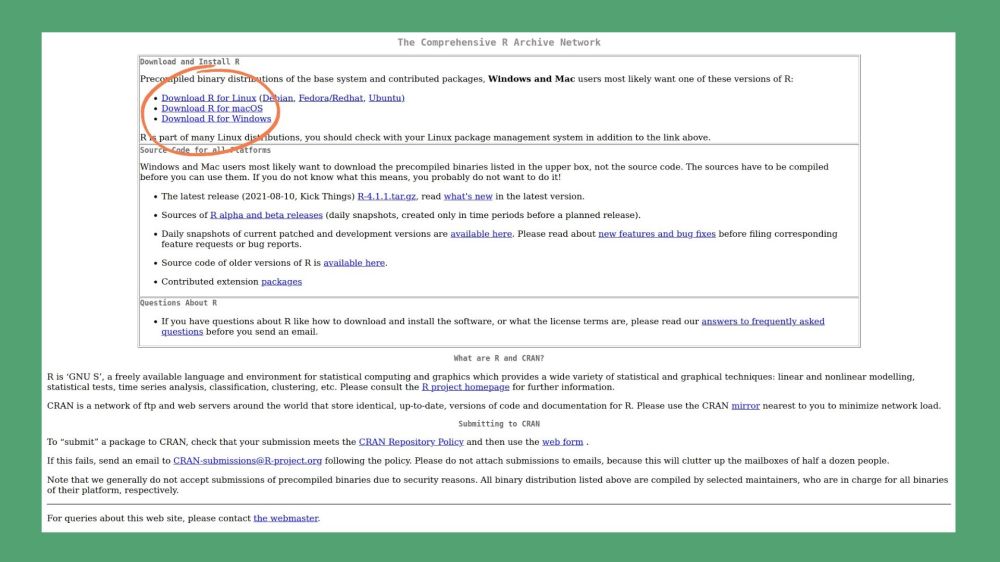
Mac users will most likely want to select the installer for the latest release. Windows users can click on the link to install R for the first time to find the link to download the installer for the latest release. Linux users can click on the link for their preferred distro and then follow the distro-specific instructions provided.
Downloading and installing RStudio
Although you can certainly run R without installing any additional software, we'll be working in RStudio, an integrated development environment (IDE) for R so we'll download and install that next. The open source RStudio Desktop version is also free and has many great resources to simplify and streamline your R experience so it's a great tool for beginners and advanced R users alike!
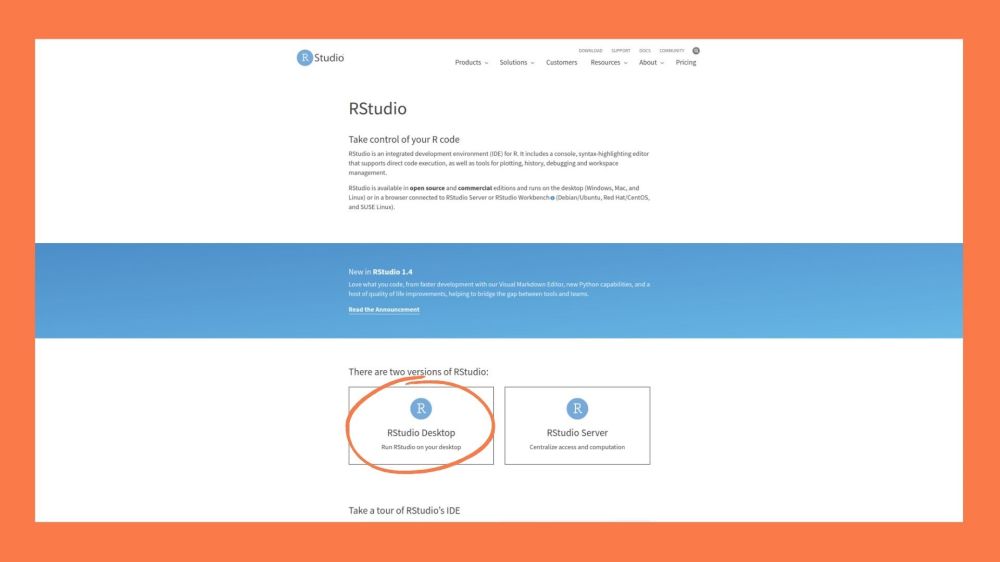
Once you've clicked on the RStudio Desktop link to go to the RStudio IDE download page, make sure you select the download link for the free desktop version.
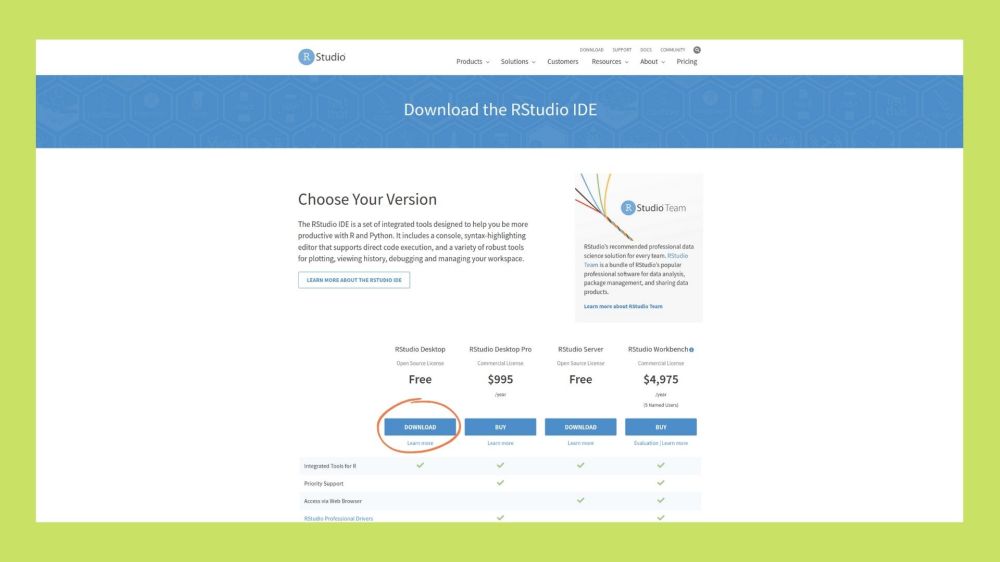
From here, you can download the installer for your operating system. Now that you've installed RStudio, we can work on customizing your workspace.
Customizing RStudio
You can customize your workspace in RStudio by selecting the Tools tab from the top menu and then clicking on Global Options from there.
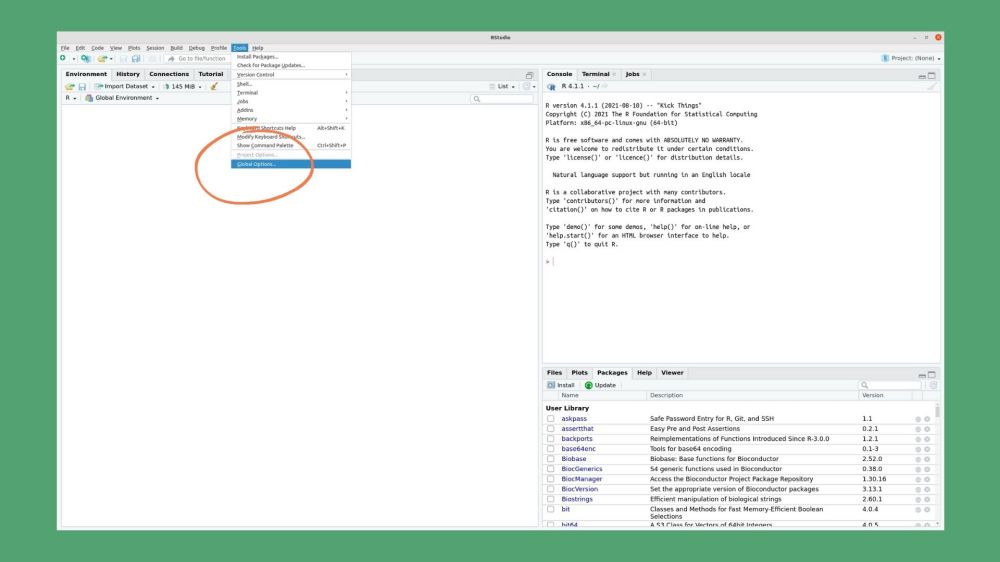
You can make many customizations from here but the two that I particularly recommend are on the Pane Layout and Appearance options pictured below.
From the Pane Layout, you can choose where the different panels in your workspace show up. Below is the configuration that I'm currently using but you can adjust yours to the setup that works best for you.
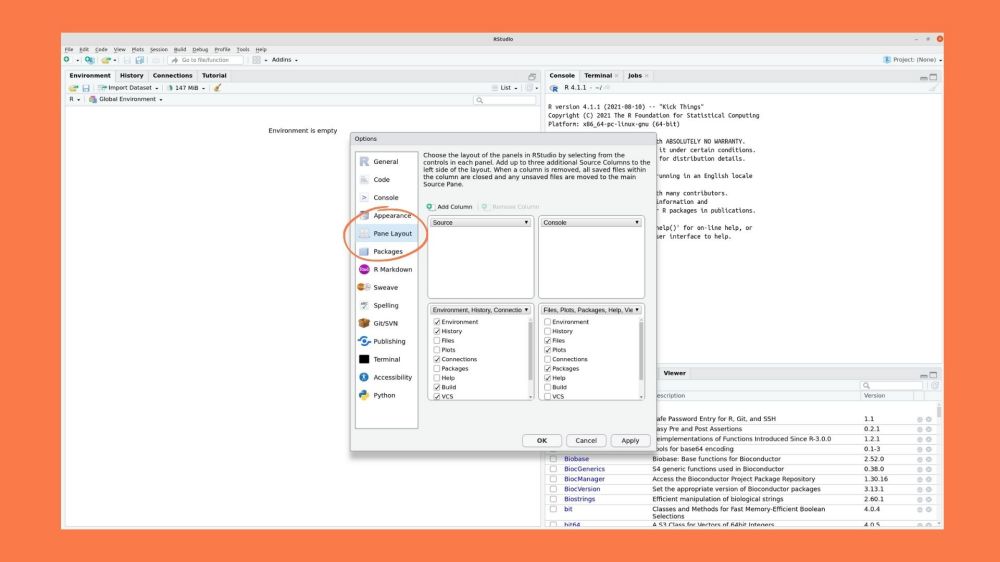
The Source window (top-left) shows the code files that are currently open. This is where you can write and edit code before running it. Since my RStudio window doesn't have any files open, you don't see anything in that panel.
In the Console window (top-right), you'll see a running history of the code you've just run.
The Environment window (bottom-left) will show you all the objects that are currently loaded in your workspace. We'll see some examples in the next post, when we begin coding in R.
In the bottom-right, you'll see the window for the Files, Plots, Packages, Help, and Viewer tabs. From the Files tab, you can view and navigate through files on your computer. The Plots tab shows the output from plot commands. From the Packages tab, you'll be able to install, update, load, and unload R packages that we'll use later. Finally, the Help tab is a great resource for learning how to use functions. For example, you can read about the inputs and outputs of a function and also find examples on how to use and run functions here. We'll go over all of these in more detail as we dive deeper into using R.
As you gain familiarity with these options, you'll get a better sense of where you prefer them in your workspace.
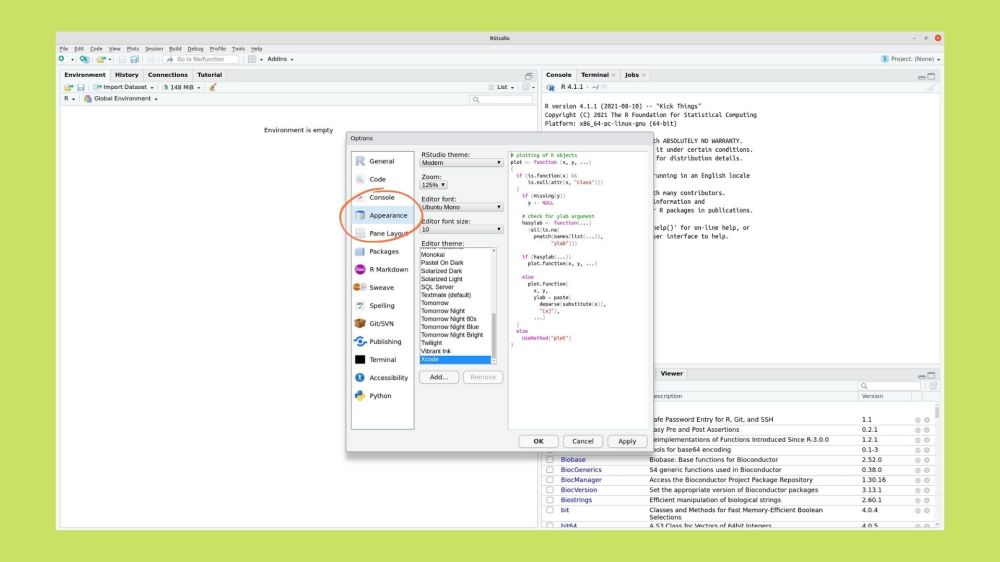
From the Appearance tab, you can decide how the code in your Environment window appears. You can change the size, color, and font of the code text as well as the style of the Editor itself. Experimenting with these options will give you a sense of coding environments that you prefer.
Coming up next...
Great job! You just finished the first part of this two-part series on getting started with coding in R! Now that you have R and RStudio installed and ready to run, we'll move on to some projects in R! In the next post, we'll cover some basics of coding in R to get us started.


